
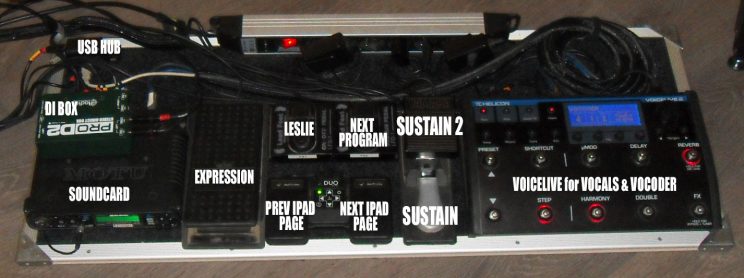
Why Build a Keyboard Pedalboard :
- Time saving & Easy Transport on soft case.
- Guitar PedalTrain not adapted for Keyboard player, the height is too large for sustain pedal.
- Don’t search your pedals under the keyboard, they are all fixed.
- Have reflexes because pedals always remain in the same place.
Supplies Needed :
- Composite Wood Flat Board 100cm x 40cm. thickness : 5mm
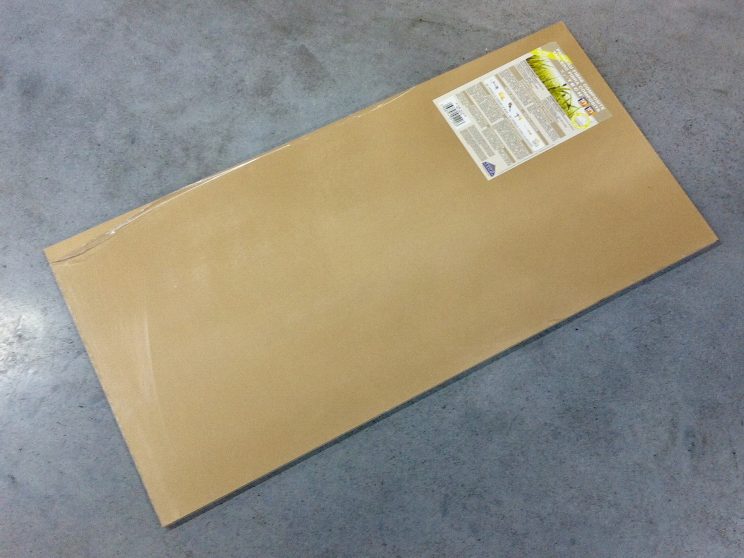
Lightweight and resistant, the wood composite doesn’t rot. - Car Carpet to adheres pedals and other with velcro.
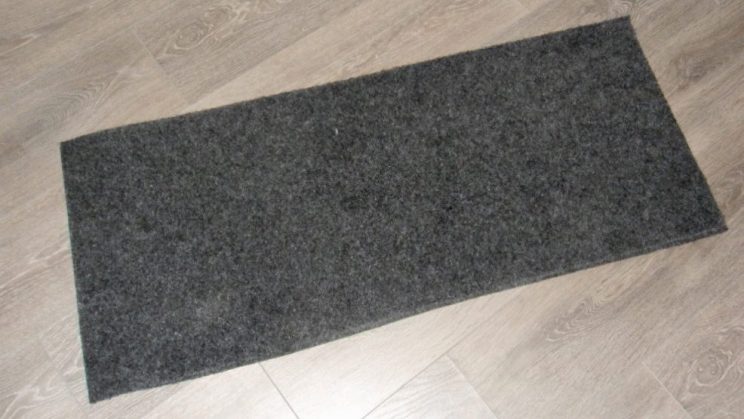
Test your Velcro on the surface before buying 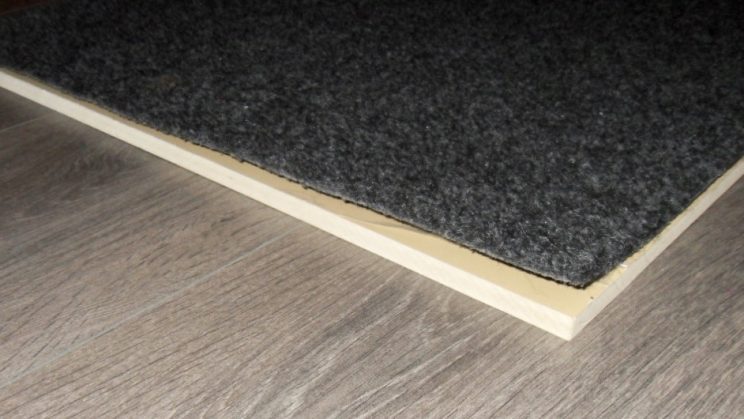
Apply Neoprene Glue over the entire surface. - Aluminium Rail Profile
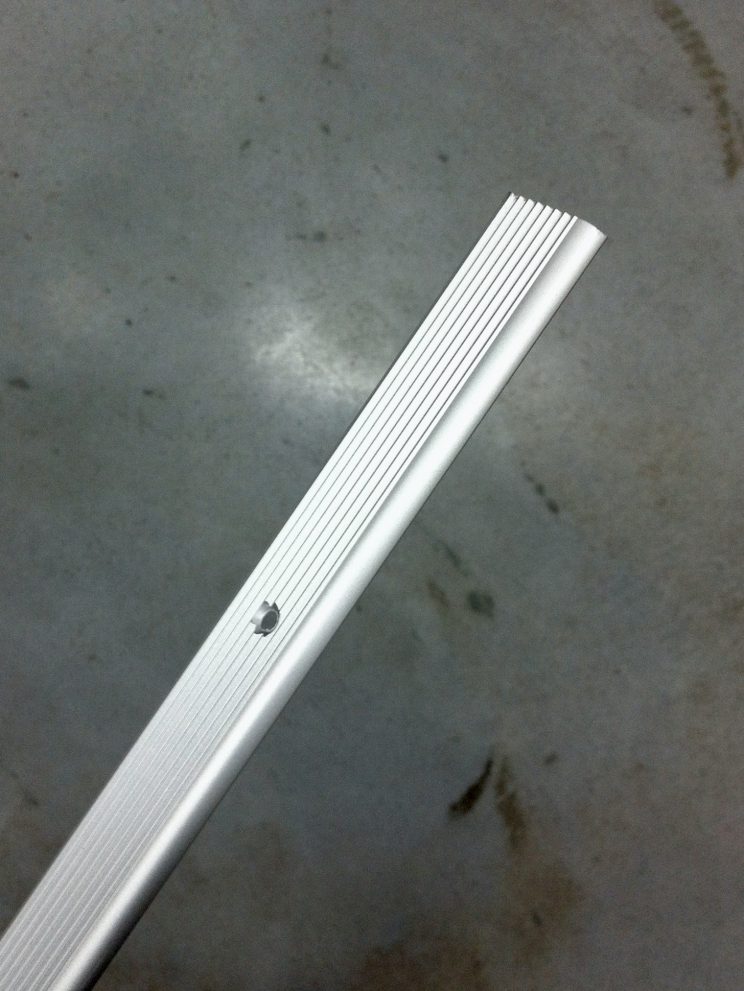
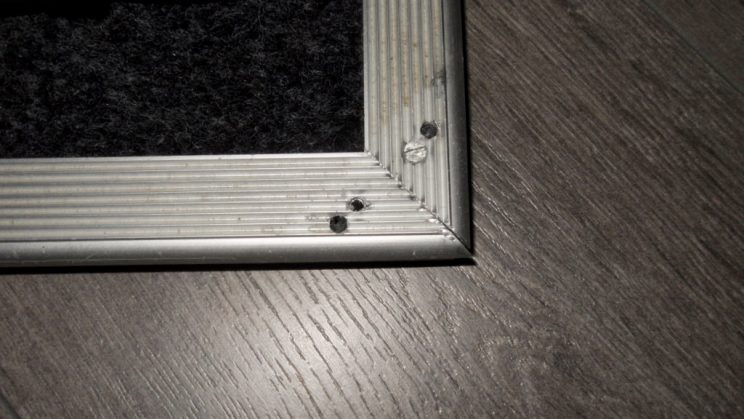
Cut profile at 45 ° - Metal Corners

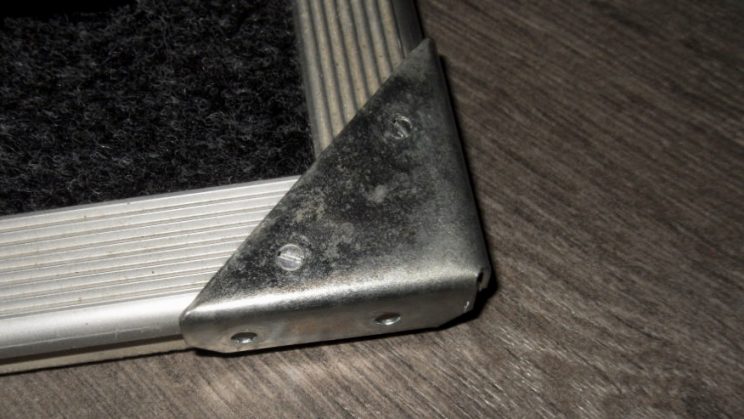
Pre-drill the rails to fix the corner reinforcements - Electrical power strip
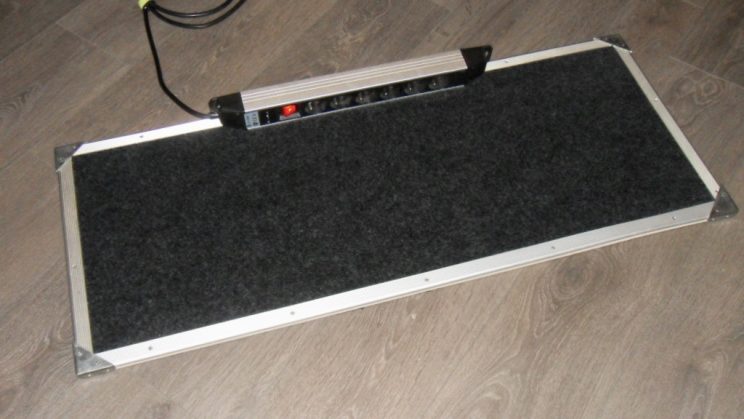
Fix Electrical Power Strip in the right direction to plug up transformers and electrical outlets. - Non skid rubber to avoid slipping
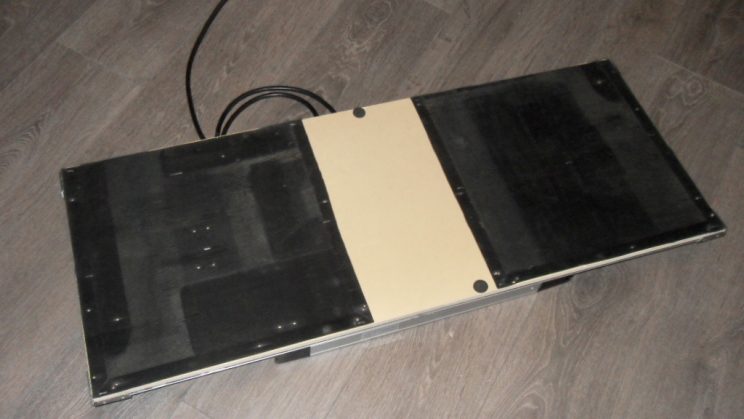
Use glue or staples - Hook & Loop Tape self adhesif
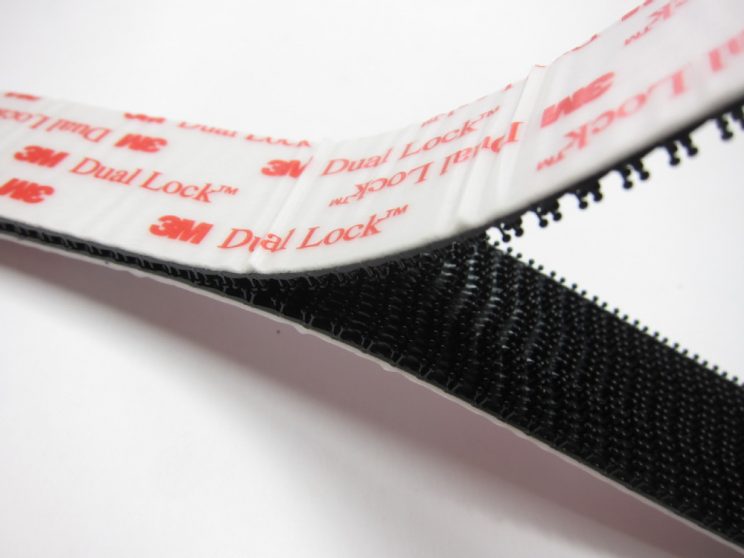
You will use only Hook under your pedals, Loop is the carpet. - Position your items wherever you want.
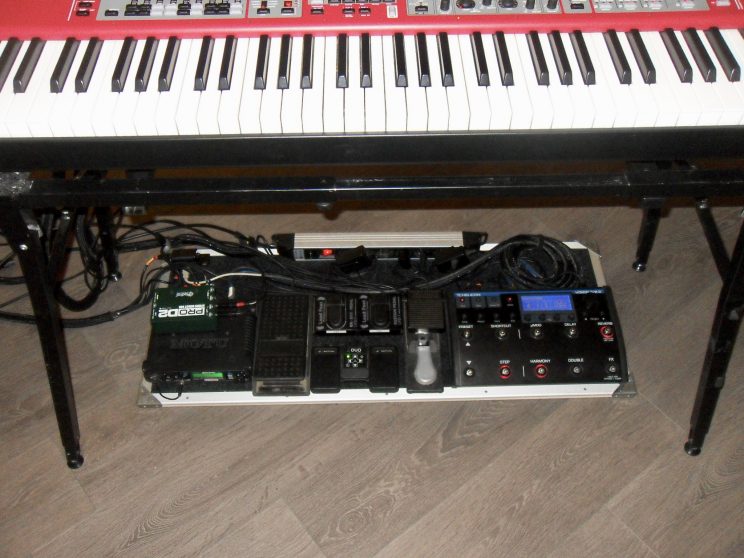
I fix the sustain pedal to the right center, under the A4 note of the keyboard like a real piano to keep the same benchmarks. -
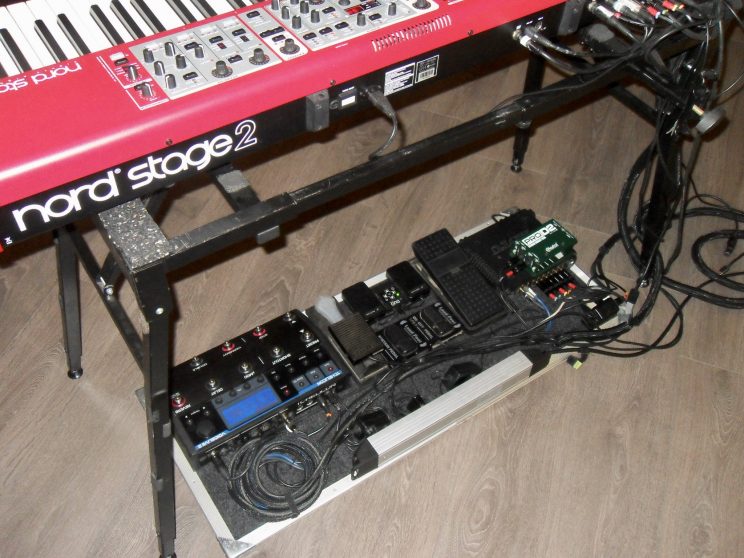
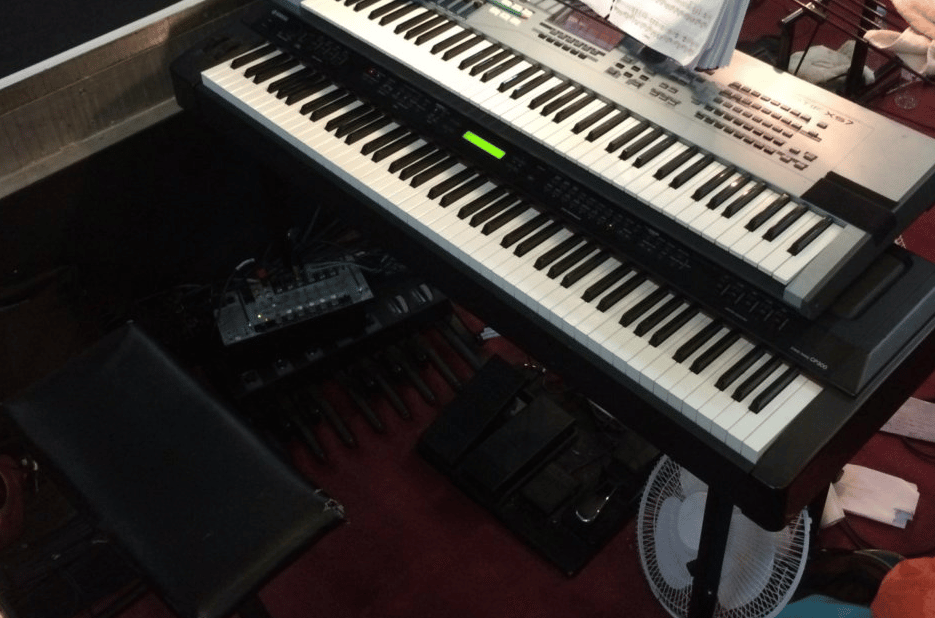
You should have a fairly large keyboard stand to fit the pedalboard.
Nice board! Any possibility of posting your sources for the rail and corner pieces?
DIY store next to my home!
Great to see, that other keyboarders are thinking in this direction! I´d been used to built up all this floor-gear with its buttons and pedals in the 80ies/90ies – cannot count how often. One day I´d started to mount them all on a board and improved it time after time… Today I open the case and all is there… But still this is a unusual situation, when someone comes onstage with a solution instead of another wiring mess… If interested, find the (german language) story of my Floorboard (i call it footboard) here: http://rgawke.de/mactwo/?p=397#more-397

Great Job Mac ! Nice tip to place sustain pedal to the left to release the right food.
Is your page available in English for people like me who do not read German?
Best
Thanks for your reply. Oh yeah – the sustain to the left eases the whole project and appears as an easy thing, even if you used to use the other feet in common. And an English section for my web-“dairy”… Well, most of my readers coming from the local area (200km). But you´re right – I should mention to offer a translation for my gear-related posts… Okay – for the beginning I add the pic of my current board with the explanation in English and promise to add a translation to my “gear”-posts on my wordpress… But don´t expect it to fast… 🙂
Nice pedal board, although I’d be a bit concerned about kicking my audio interface with it down there.
I created one for 4 pedals that fits a standard maplin flight case but I just overlapped the carpet to the other side instead of the nice metal surrounds you have used.
With this number of pedals I assume you also play in socks!
No Socks, Matt ! I can keep my shoes with my size (42) !
Why don’t you post a picture of your pedalboard to share your user experience?
Best
Don’t have a great photo to hand but see attached! Here’s my standard 4 pedals below. Sustain, advance and two volume. Also an octave of bass pedals for some long held notes.
Thanks Matt , Nice Rig !